sdavies2000
Well-Known Member
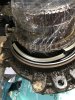
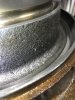
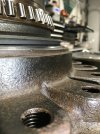
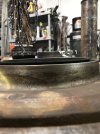
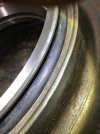
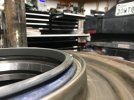
It’s a good thing his thread exists, I would have definitely taken sand paper to that surface the toric ring sits in.
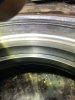
should the ring sort of twist as it goes in? As in like load up? What I’m reading is you don’t want it to move as it’s installed but if it goes in without a bit of twist or pre load, where does the spring come from?
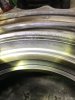
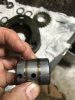
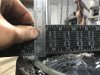
definitely need new main bearings and races eh. What’s involved installing those? No special tools or heat/cooling required?
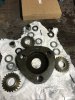
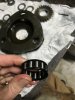
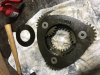
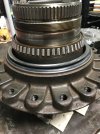
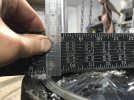
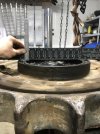
i ordered all new needle bearings, thrust plates and pins for the high speed planetary set closest to front cover. Think I should be rebuilding the other two bigger sets?
should the ring sort of twist as it goes in? As in like load up? What I’m reading is you don’t want it to move as it’s installed but if it goes in without a bit of twist or pre load, where does the spring come from?
definitely need new main bearings and races eh. What’s involved installing those? No special tools or heat/cooling required?
i ordered all new needle bearings, thrust plates and pins for the high speed planetary set closest to front cover. Think I should be rebuilding the other two bigger sets?