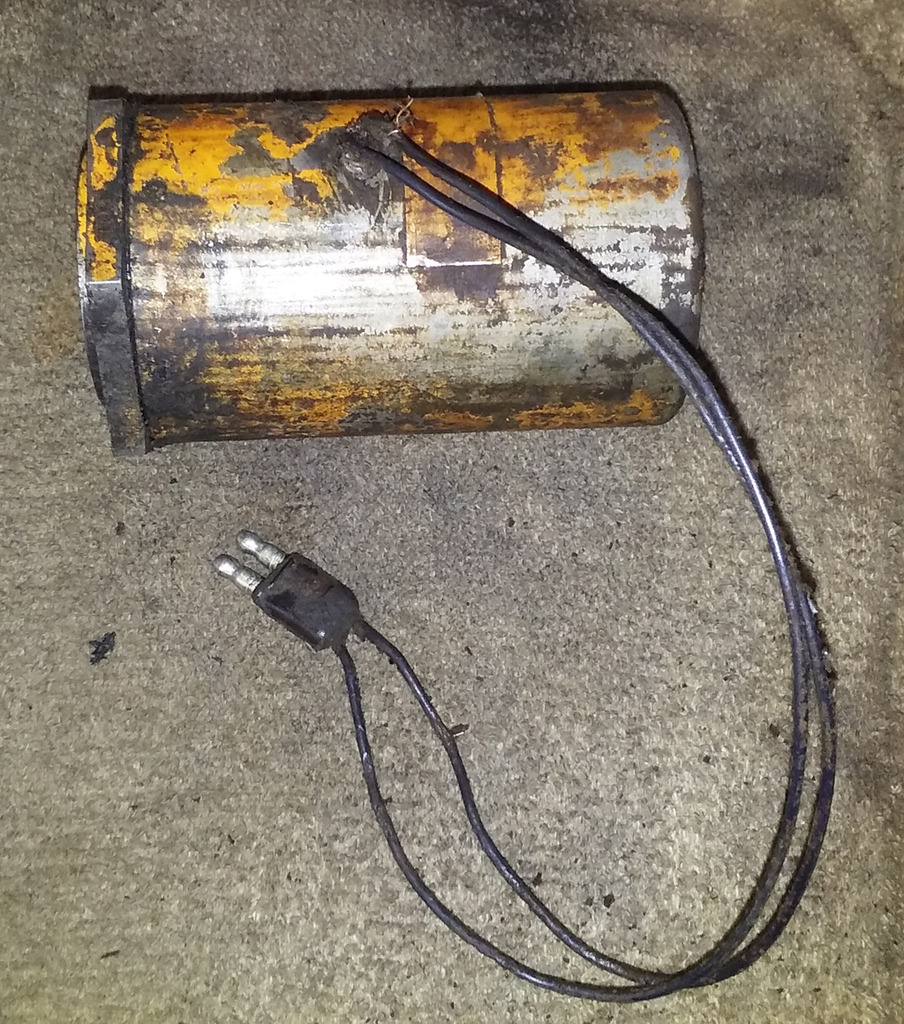
Thought I'd post my repair of the Cutout Solenoid, since I couldn't find any internal pics floating around online.
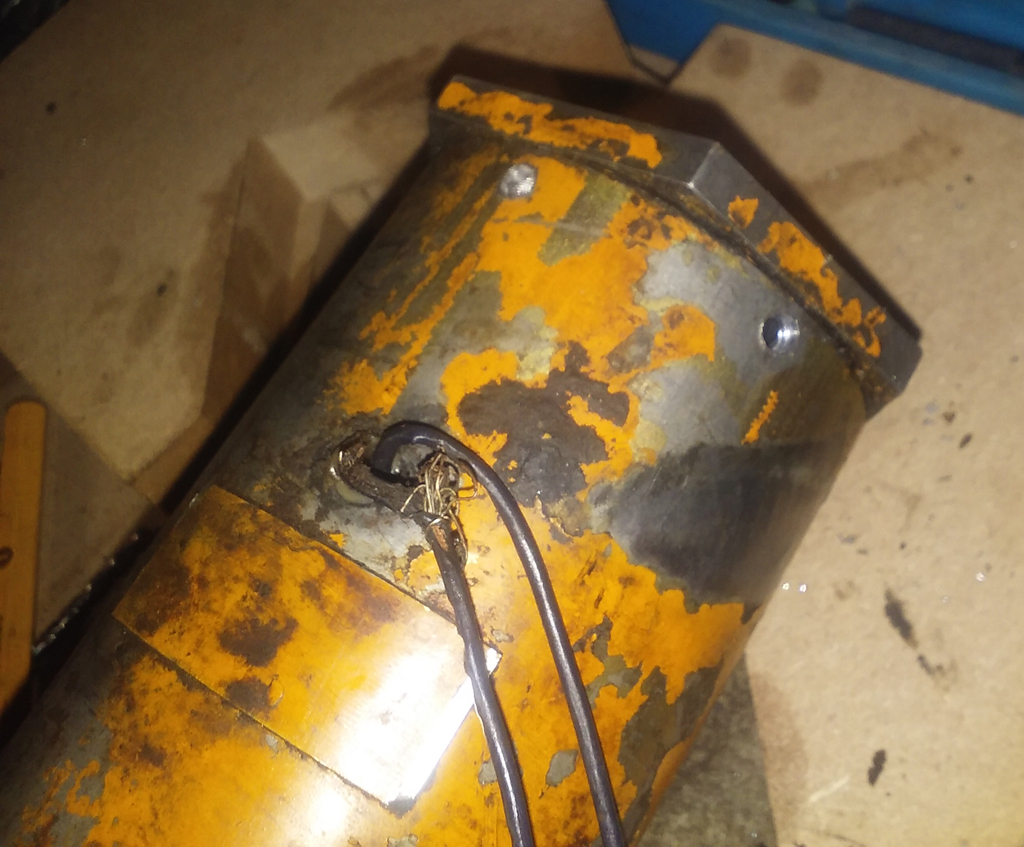
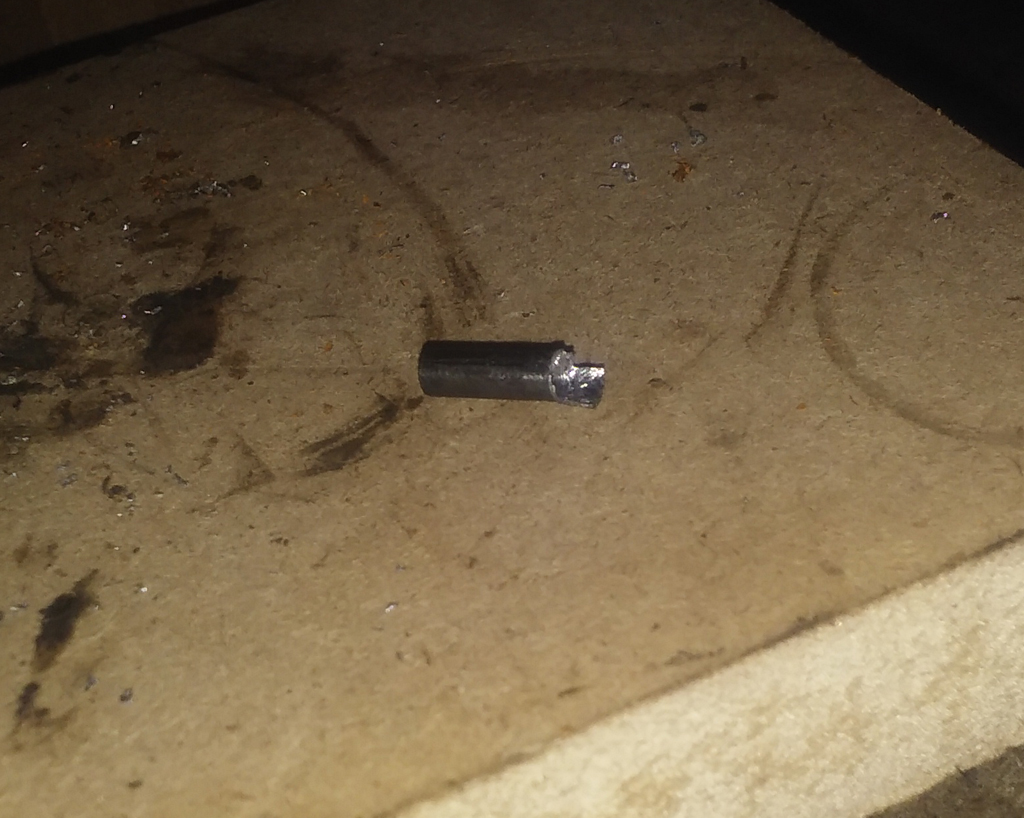
The 6 pins that hold the cap on pretty much just fell out after the 'heads' of them were drilled.
Cap removed.
Plunger and Spring removed.
Plunger, Spring, Cap and drilled out Pins.
Under the silicone is an internal snap ring that needs removed so the coil can come out.

Coil removed.
Coil.
Tape removed from coil.
String removed from coil. This holds the wires in place against the coil and keeps it from unwinding.

Just a couple more pieces of insulation to expose the Solder joints.
At this point I took the coil home to put it on the bench and do some tests, mainly for my own curiosity, but also for the sake of documenting it and for anyone else that might be interested...
This one measures right around 2.8ohms and draws around 4.3A at 12v
The wires are 16awg stranded, that's the wires from the connector to the coil.
The coil is wound from 20awg magnet wire, and if the math is right, there is around 275ft of it on there, so if you have to rewind one, enjoy.")
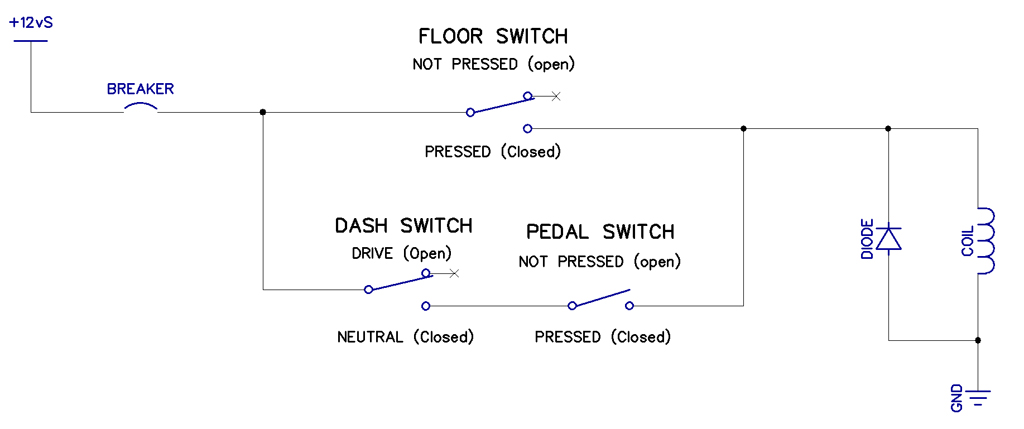
It's not polarized (does not have a + and - side) so it can be wired up either way and still work, also why the connector is not keyed.
Sorry, didn't get any pics of the rewire, restring and retape of the coil, but it's all pretty much the reverse of the above, just nicer looking now. I've also redone the connector with a 2 pin Weatherpack, as the entire tractor is getting a rewire.
Coil reinstalled.

New Silicone.
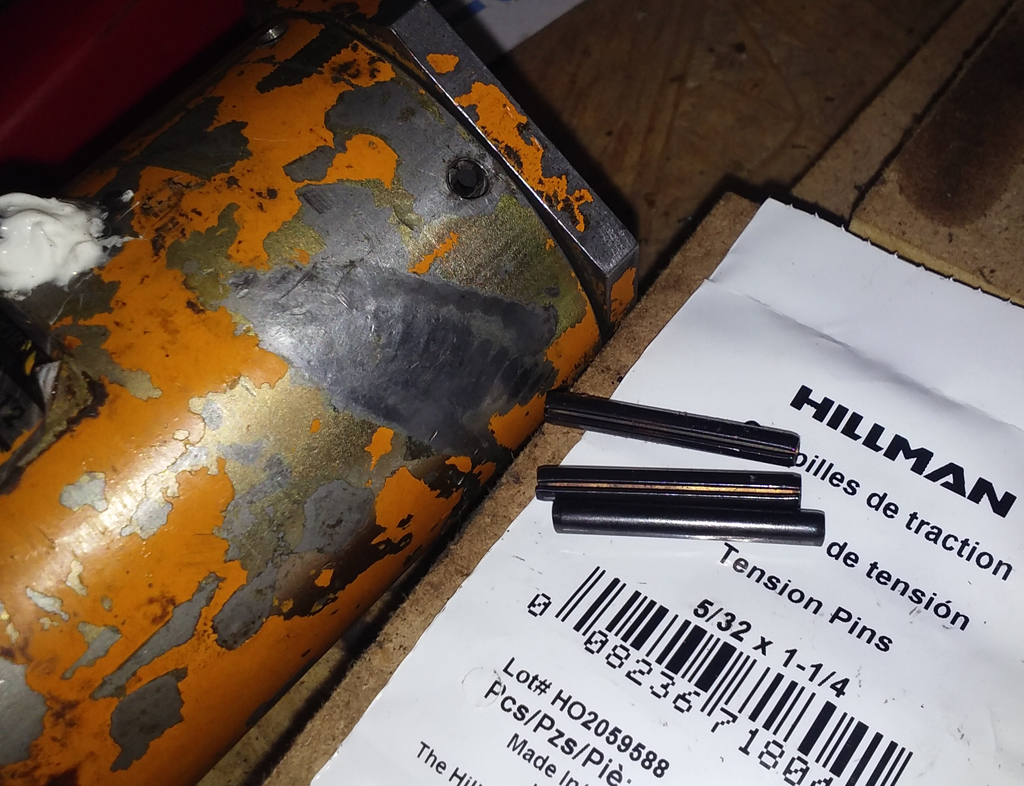
Just decided on tension pins (length cut to fit) to hold it all back together for now, as this wasn't intended to be a full restoration or anything, just getting the old gal working complete again for now.
The 6 pins that hold the cap on pretty much just fell out after the 'heads' of them were drilled.
Cap removed.
Plunger and Spring removed.
Plunger, Spring, Cap and drilled out Pins.
Under the silicone is an internal snap ring that needs removed so the coil can come out.
Coil removed.
Coil.
Tape removed from coil.
String removed from coil. This holds the wires in place against the coil and keeps it from unwinding.
Just a couple more pieces of insulation to expose the Solder joints.
At this point I took the coil home to put it on the bench and do some tests, mainly for my own curiosity, but also for the sake of documenting it and for anyone else that might be interested...
This one measures right around 2.8ohms and draws around 4.3A at 12v
The wires are 16awg stranded, that's the wires from the connector to the coil.
The coil is wound from 20awg magnet wire, and if the math is right, there is around 275ft of it on there, so if you have to rewind one, enjoy.
It's not polarized (does not have a + and - side) so it can be wired up either way and still work, also why the connector is not keyed.
Sorry, didn't get any pics of the rewire, restring and retape of the coil, but it's all pretty much the reverse of the above, just nicer looking now. I've also redone the connector with a 2 pin Weatherpack, as the entire tractor is getting a rewire.
Coil reinstalled.
New Silicone.
Just decided on tension pins (length cut to fit) to hold it all back together for now, as this wasn't intended to be a full restoration or anything, just getting the old gal working complete again for now.
Last edited: