edgephoto
Senior Member
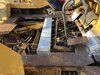
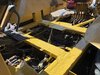
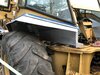
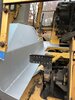
The machine's frame is fine with virtually no rust. The rust is confined to the ROPS cabin. it was an old town machine so I am sure it was used to load the sanding trucks for snow storms. CT used to use a 10% salt mixture back when this machine was new. So I bet the salt dragged in the cab did not help matters. Also searching for parts I noticed almost all of the machines I found had similar rust. Mine is much worse.
I hope to have this machine for many years. I will get this one looking good and the rust more or less stopped.
I hope to have this machine for many years. I will get this one looking good and the rust more or less stopped.