• Thank you for visiting HeavyEquipmentForums.com! Our objective is to provide industry professionals a place to gather to exchange questions, answers and ideas. We welcome you to register using the "Register" icon at the top of the page. We'd appreciate any help you can offer in spreading the word of our new site. The more members that join, the bigger resource for all to enjoy. Thank you!

Komatsu D21a-7 steering clutch

Don Shilling

Well-Known Member
Joined
Aug 10, 2019
Messages
147
Location
Texarkana, Texas
Occupation
Retired, multi occupation
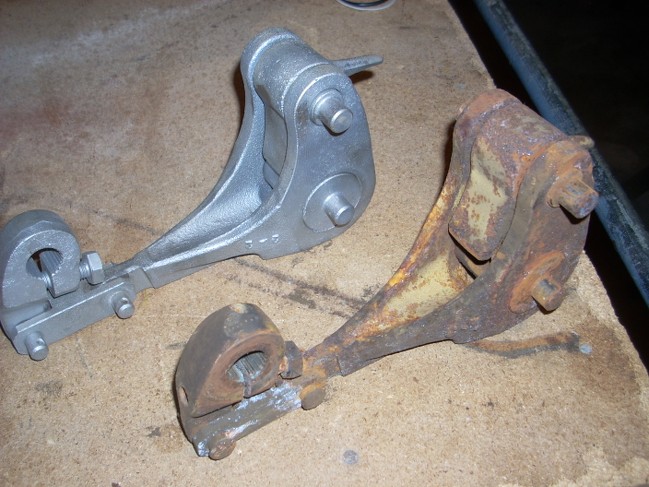
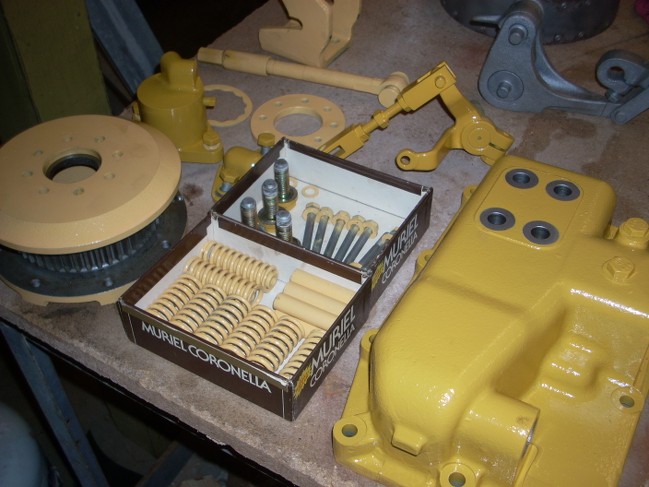
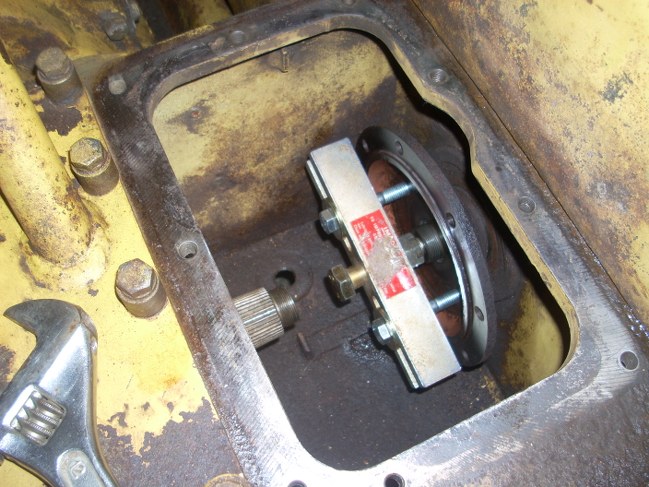
Today I removed the covers over the steering clutches. After removing the brake band springs and all 16 of the flange bolts. the clutch assembly is loose and tries to come out but something is snagging as I try to lift the clutch assembly upwards. I'm missing something and the manual is very lacking in details.
Hopefully, someone will have a suggestion or trick to remove the clutch.
 

Don Shilling

Well-Known Member
Joined
Aug 10, 2019
Messages
147
Location
Texarkana, Texas
Occupation
Retired, multi occupation
The manual is telling me to remove the "clutch pilot" and the clutch will lift out. I don't know what this "pilot" thing is. Can anyone enlighten me? How much movement should the throw out lever have?
 

epirbalex

Senior Member
Joined
Aug 5, 2017
Messages
554
Location
Akitio
Occupation
peasant
The manual is telling me to remove the "clutch pilot" and the clutch will lift out. I don't know what this "pilot" thing is. Can anyone enlighten me? How much movement should the throw out lever have?
there could be some info in the link I posted for you on your last thread about dry clutches
 

Don Shilling

Well-Known Member
Joined
Aug 10, 2019
Messages
147
Location
Texarkana, Texas
Occupation
Retired, multi occupation
I found it! Flushing the clutches brings up another problem. Would that not flush the grease out of the throw out bearing? My clutches are 254 years old and never worked on. I want to take everything apart, clean and replace all discs, drums, springs, and throw out bearings and make the assembly work like new. I noticed about 2 inches of crud in the bottom of the housing that needs to be cleaned out. My problem now is trying to lift the clutch pack up and out of between the flanges.
 

epirbalex

Senior Member
Joined
Aug 5, 2017
Messages
554
Location
Akitio
Occupation
peasant
Thats a lot of rubbish to have there for a closed system , the pilot gear refers to what would have been called thrust control , control probably wrong name for it . Check to see that one or more plates have not leaned over againt a flange , are there dowels catching against the drum . Should come up with a good yank . Sounds like you are not in there too early .
 

Don Shilling

Well-Known Member
Joined
Aug 10, 2019
Messages
147
Location
Texarkana, Texas
Occupation
Retired, multi occupation
I worked on the right clutch today but still haven't managed to remove it. Maybe if the throw out arm could move a bit more to the left, (center of the tractor) I might have enough clearance. I think I'll try to remove the left clutch and see if it has the same problems.
 

muzy

Well-Known Member
Joined
Mar 6, 2010
Messages
206
Location
Alberta CA
Hi, just reading along here. Could the thrust bearing be the pilot or thrust control? If your throw out arm is connected to a bearing, could it move further if you disconnected it?
cheers
 

Don Shilling

Well-Known Member
Joined
Aug 10, 2019
Messages
147
Location
Texarkana, Texas
Occupation
Retired, multi occupation
Hi Muzy! From what I can discern, the steering clutch must be removed in order to remove the inboard flange to access the throw out bearing. I think the throw out arm needs to move toward the center line of the tractor and touch the edge of the top opening. I still have over a half inch of arm travel to free up.
 

Don Shilling

Well-Known Member
Joined
Aug 10, 2019
Messages
147
Location
Texarkana, Texas
Occupation
Retired, multi occupation
I got it out! It was just a matter of freeing up the throw out arm and moving it farther away from the clutch pak. It's pretty nasty in that cavity and plenty of rust and crud. The parts don't seem to be unusually worn, just years of neglect and contamination getting in from bolt holes that are supposed to be sealed with cork plugs. How do put pics on this post?
 

Don Shilling

Well-Known Member
Joined
Aug 10, 2019
Messages
147
Location
Texarkana, Texas
Occupation
Retired, multi occupation
I need to remove the flange from the bevel gear shaft. I removed the lock keeper and ready to remove the big nut. Does anybody know what is the wrench size for the big nut?
 

Don Shilling

Well-Known Member
Joined
Aug 10, 2019
Messages
147
Location
Texarkana, Texas
Occupation
Retired, multi occupation
I got it out! It was just a matter of freeing up the throw out arm and moving it farther away from the clutch pak. It's pretty nasty in that cavity and plenty of rust and crud. The parts don't seem to be unusually worn, just years of neglect and contamination getting in from bolt holes that are supposed to be sealed with cork plugs. How do put pics on this post?
jk8dU6.jpg
 

Don Shilling

Well-Known Member
Joined
Aug 10, 2019
Messages
147
Location
Texarkana, Texas
Occupation
Retired, multi occupation
It's nasty in here! Years of neglect and moisture but I have a beadblaster. I intend to repair and rebuild to like new condition so I won't have any surprises when it goes back together!
pn5JWYCPj
pmEMkbETj
I had to use a hydraulic press to dissemble this actuating lever assembly. It was badly frozen tight!
5JWYCP.jpg

The brake band had corrosion between the band and linings causing the linings to crack and break apart at the rivets. New parts coming.

EMkbET.jpg
 
Last edited:

Don Shilling

Well-Known Member
Joined
Aug 10, 2019
Messages
147
Location
Texarkana, Texas
Occupation
Retired, multi occupation
Still cleaning and prepping parts for the steering clutch overhaul. I've got the nuts off the inboard flanges but they are super tight. I have a spreader bar attached as a puller and considerable strain applied with penetrating oil soaking the shaft. Next I'll use a porta power spreader jaw between the flange and throw out arm to try to move it.
 

Don Shilling

Well-Known Member
Joined
Aug 10, 2019
Messages
147
Location
Texarkana, Texas
Occupation
Retired, multi occupation
In removing the inboard and outboard steering clutch flanges I used a puller bar to good advantage as shown.
M169mu.jpg
 
Last edited:

Don Shilling

Well-Known Member
Joined
Aug 10, 2019
Messages
147
Location
Texarkana, Texas
Occupation
Retired, multi occupation
Considering the prices, I took another look at the brake drums. After beadblasting and polishing on the lathe, I saved several hundred dollars!
I used a portable 21" belt sander to dress the outside surface. All the internal teeth were perfect.
3Gqme0.jpg
 
Top