Okay finally got some time to work on the Takeuchi! She has been running pretty well, when cold it can take a bit to get her started, but she stars way easier then before. I plan to add a new grid heater system before the snow falls, that should help with the cold starts.
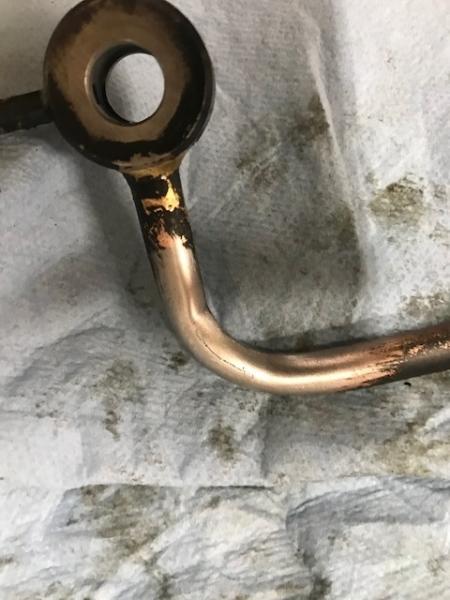
I have fixed almost all of the leaks, she was still leaking a little oil. I thought it was coming from the dipstick tube, I have been monitoring it. Well it opened up and the leak got worse...so looking deeper into it, I think I found it. The oil feed line to the turbo developed a crack. So I went to remove it and bring it into the shop, I was hoping I could braze it shut. Nope.
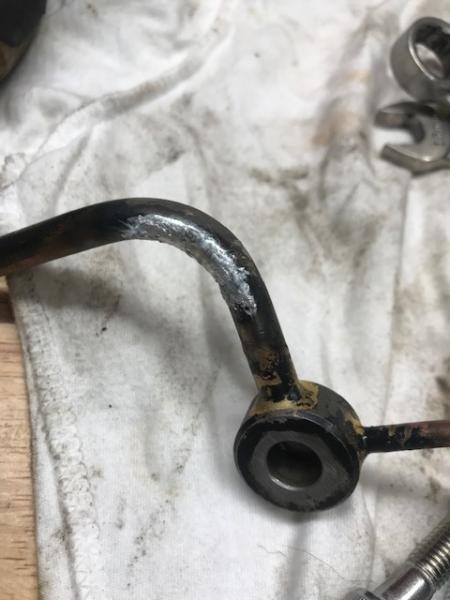
the banjo bolt at the injection pump SNAPPED off clean! as soon as I went to move it.
So I spent the entire day on this issue yesterday.
First off nobody in town has a 8mm x 1.25 banjo bolt, and even if they did it would not be the "restrict or type" we have here (tiny feed hole)
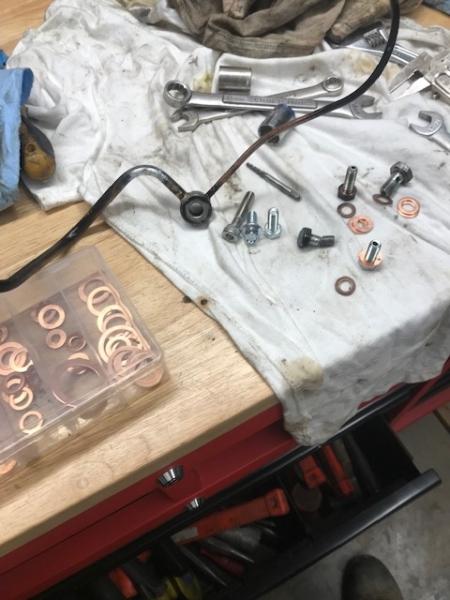
After looking online I cannot find a banjo bolt that looks like this Yanmar one. So I made it myself.
drilled out a 8mm bolt...grabbed my trusty dusty harbor freight copper washer assortment and got it fixed.
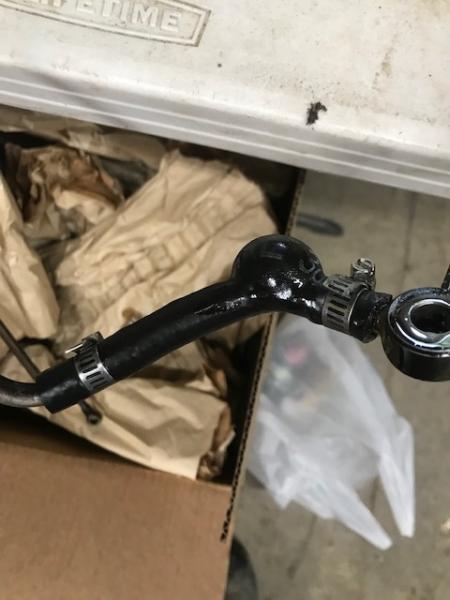
3 attempts to braze the hole shut in the line failed, First with plumbing solder...nope wont stick. Then with "alumaweld" ALMOST sealed it up.... it held pressure just enough to pass the bucket of water and air hose test...but once installed on the machine...first a small drip of oil followed by a river. So the line came back off. I ended up cutting out the bad section, flaring both ends and using gates fuel line and clamps...its holding just fine now. Phew leak fixed! back to work
small leak turned into a river of oil very quickly so I was finally able to find this leak!
Split/crack:
Broken banjo, lucky for me the broken bit came right out with an easy out
built my own:
Alumaweld repair, I thought I had it
Had the line on and off the machine like 4 times yesterday! PITA!
First attempt with fuel line repair did not work...whoops I think my flare was too sharp and cut this hose, so I re did the flare
Checked her over, good news the final drives in the tracks are holding their gear lube jut fine. No other real leaks anymore, a tiny bit of hydro fluid leaks from under the pump, otherwise I think I have it beaten!
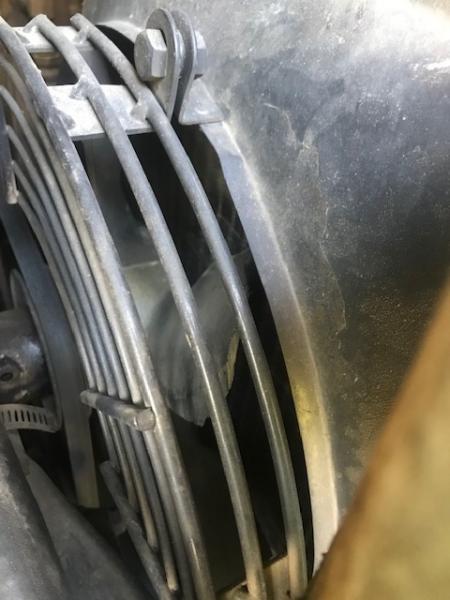
I also took this opportunity to do the coolant flush and fill, I cleaned out the radiator and oil cooler with air and water. I noticed the cooling fan has seen better days. I plan to replace it AND add a small e fan so when the temps climb I can bring them back down. So far after the flush and fill, a NEW air filter, and cleaning the cooling stack she runs right at 190.....nice! It used to climb to 220...then 230 and I shut it down. So far yesterday she stayed at 190.....but its only 75 out so it doesn't count.
Oh yeah and in town a couple of weeks ago I was shopping at the local outfitter store and I commented on the pry bars the people in front of me were holding. There was an issue with the register so while we waited I was making small talk with the nice people in front of me...the convo about the pry bars quickly turned to their uses when installing tracks on a excavator, that lead to us talking about putting tracks on our Takeuchi machines?? Turned out it was Rbrown225 from the forum!! What a small world eh? that was cool to run into him totally random in town.....
Anyone have a part number for the engine driven fan? in the book it just calls out the entire engine, no pat numbers for just the fan..


")


